decorafit.com Design ideas for your home and patio

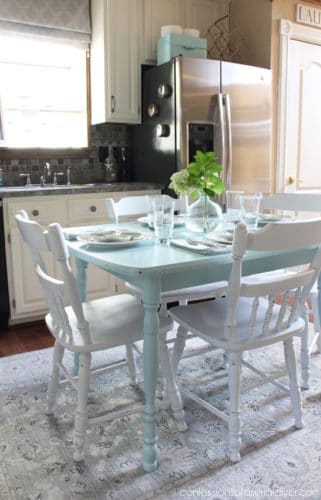
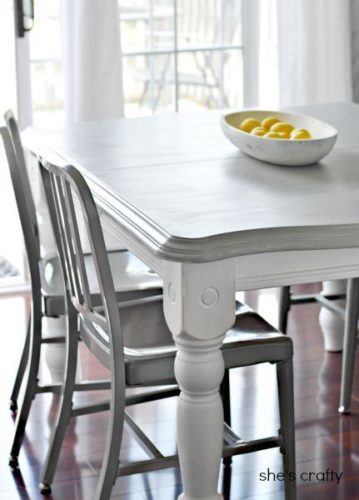
Kitchen tables get damaged over time. Whether you have small children digging their forks into the table or just a dinner crowd with plates scratching the surface, the table is taking abuse. At some point, most DIYers think about repainting their kitchen table. It’s cheaper than buying a new table and the best part: you can design it exactly how you want!
Painting a kitchen or dining table isn’t much more difficult than painting any other piece of furniture, but if you don’t know what you’re doing, it can turn into a big mess. Before you start redesigning your table, remember that the main concern when repainting a table is to make it last. Kitchen tables take more wear and tear than your average dresser or bookshelf. And who wants to work for hours only to see peeling paint a week later?
Here are five of the most common mistakes people make when painting a kitchen table:
Not sanding enough
You don’t need to sand all the stains, but your new paint needs to adhere to a rough surface. Sand until the surface is rough and no shine can be seen. When I sand a table I use this sander from Black and Decker. Not only does a 4 hour job become a 30 minute job, but this sander also has a pointed side to get into the grooves of legs and edges. I love mine and for less than $50 I think it’s a must have for any DIYer.
If you don’t take the time to sand everything, including the beautiful table legs, the paint will peel, the surface will be uneven, and possibly stains will discolor the new paint.
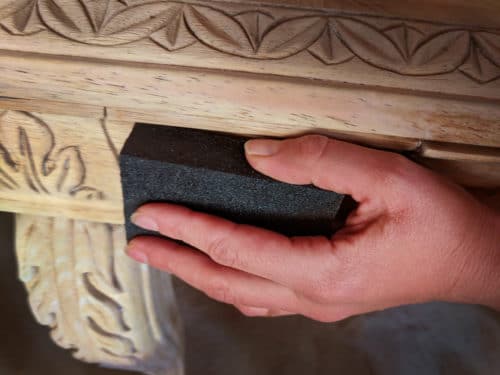
Start sanding with 80+ grit sandpaper and then move on to 120-180 grit. Your table will feel smooth enough at this point, but it isn’t. The legs are probably fine at this point, but the surface where the elbows and hands rub still needs to be softer. Sand it at least one more time with 200+ grit. You will be amazed by the feel of this 200 grit table top. It makes a big difference! If you are staining your table top, apply another coat of 250-300.
Not using primer properly
Before applying your paint, you will need to apply at least one coat of primer or shellac-based primer. Shellac is used when covering a stained wood with paint. It holds the stain in place and prevents future yellowing. Primer is used when the wood is bare. Make sure you use a water-based primer for latex and an oil-based primer for oil-based paints or stains.
One The trick I use to cut my time in half is to spray the foundation instead of brushing it on. Some hardware stores sell these, others don’t. #5 – Apply your paint with a brush
Keep the brush only for decorative legs, Please. A paint sprayer gives you that most evenly Coat possible. You also get thinner layers, making your table more durable. I am NOT I recommend you use spray paint from a can. A paint sprayer uses paint from a can. If you don’t want to invest in one (they cost around $40), Then Use a roller. Rollers can cover more areas with fewer strokes than a brush. Choose 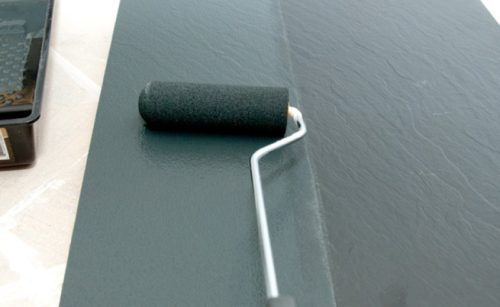
Forgot Floetrol
Flotrol is a must if you are painting your table with latex. If you discolor it, skip this one.
Applying too few coats of paint
If you want to paint with water-based paint, I would apply at least three, maybe even four coats of paint to the table surface. For a dresser, two layers are enough, but for a kitchen table you need extra protection and durability. Remember that the layers should not be thick.
Thick paint tends to flake off more than multiple thin coats. Take the time to properly prepare your table. I love using my paint sprayer instead of a brush because it can easily spread thin coats.
The clear coat
I constantly have to get out the magic eraser on my painted table to remove food stains, crayons, etc. The magic eraser works great, but it removes a little bit of color each time. Make sure you have applied 4-5 coats of clear coat to your table. This is where your hard work will truly last. You will need to apply at least three coats of clear varnish.
. Sand each layer with 250-grit sandpaper to create a smooth surface.
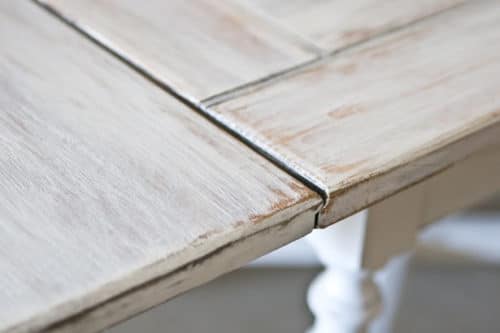
For tips on whitewashing your table for this look, check out this article: How to Whitewash Furniture Wood.
Don’t let it heal
My sister had a professional paint her kitchen table and chairs, but even they made this terrible mistake. The furniture felt dry so we all sat around We admired the beautiful table and enjoyed a great meal. After dinner we all got up and saw that the table now had rings holding all the plates. The chairs were now textured with the pattern of all the pants. The bumpy denim texture on new chairs is not what my sister had in mind. Follow the instructions on your paint can and allow the furniture to cure completely. This usually takes 5-8 days! This error is often overlooked.
And since oil-based won’t make mistake #8 and repaint a table during a time of year when temperatures are below 50 degrees, you not only need the temperature to help the paint cure, but you also need it in be able to open the doors and let the smell of these colors flow out.