decorafit.com Design ideas for your home and patio

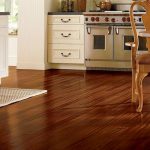
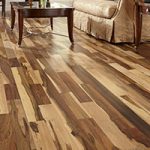
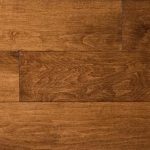
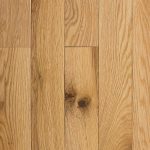
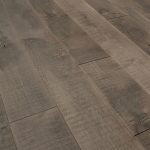
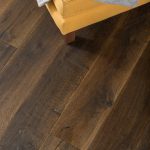
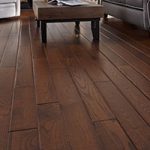
Hard wood ground surface is an established bit of deck that gives your home a nature close look. It conveys uniqueness to your home inside and mirrors a valuable look on your insides.
Hardwood ground surface is something with a costly esteem and much care is required to introduce it. For the most part an expert hand is required for introducing hardwood flooring yet in the event that anyone who is not by any means proficient and still needs to introduce a hardwood flooring himself and he is sufficiently able to do it then introducing hardwood ground surface is not a major ordeal.
By taking after the accompanying headings everybody can be a specialist at introducing hardwood flooring. Be that as it may, remember tidiness and skill are the keys to get a refined hardwood flooring apparatus.
Useful tips
Before making arrangements for introducing a hardwood flooring in your home, one must take after the accompanying tips,
- Installation must be made above evaluation
- The wood to be introduce as ground surface must be placed in the room 5 days before establishment at a temperature of 65 to 75 degree.
- Get outfitted with all the fundamental apparatuses
- A jack of all exchange is required for introducing hardwood flooring
- A suitable subfloor must be available on which the wooden floor is to be introduced
- Use the nail firearms with enough care
- Knee cushions must be accustomed to keeping away from any harm to your knees
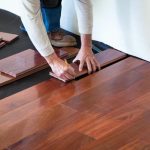
Simple steps
- Make immaculate markings on the floor by covering the floor with felt paper. Mark the area of the floor joists.
- Drill the first and the last column of ground surface. Drill 1/16 inches breadth gaps for the nails.
- Fasten the main board with the format line while setting a ¾ inch spacer against the bordering divider. The deck nails must be 5d or 6d through the pilot opening.
- Now begin putting the proceeding with sheets in a steady progression. While setting the end and the score into one another and make a tight crease by pushing them together. Introducing hardwood flooring requires moving down the column till you achieve the flip side. Presently slice the last end to settle leaving a ¾ inches crevice.
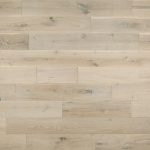
- The next step is matching so as to rack the floor the shading shade and size of the wooden boards, continue introducing the following lines in a steady progression.
- Board the floor with nail and fix if any bowed sheets are available. Cut and nail the last line to alter and after that modify the trimming guest board on the nearby divider and end with a trimmed and refined look wooden floor.