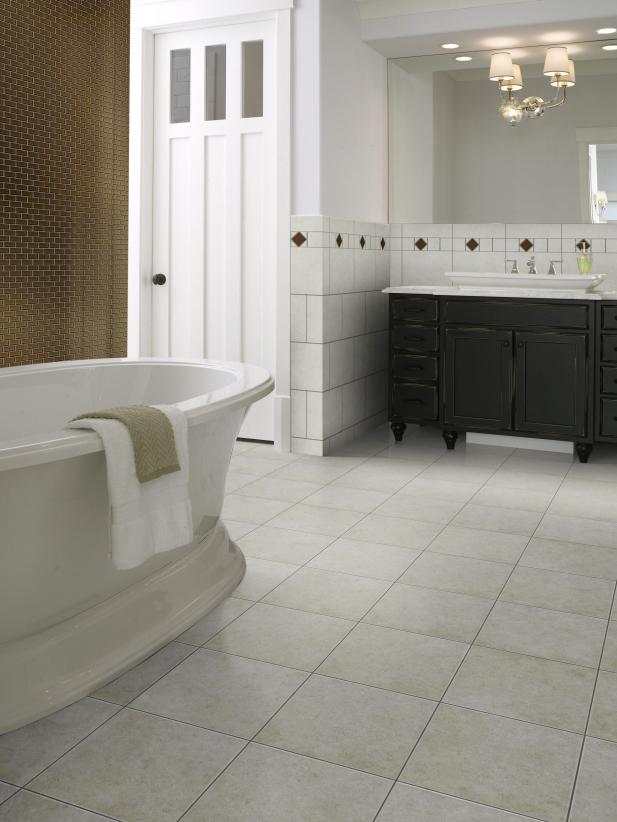
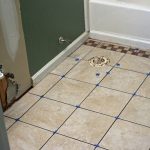
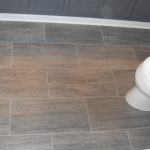
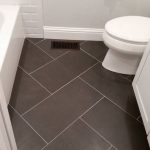
It reaches a point where your bathroom tile wears out there is no need of calling professionals to help you out because there are easy processes that can help you quickly install another floor tiling. For example, you can replace your vinyl floor with a marble floor tile because these tiles can give your bathroom additional elegance and beauty. Moreover, it is a floor that can virtually compliment all color schemes. Installing bathroom tile floors require two things; patience and a lot of care.
Procedure to use;
Make sure that you have the required protective gear before replacing your bathroom floor tile; a face mask, eye protectors and gloves are very important.
The next step is to ensure that you carefully remove your old bathroom tiles; if it’s a vinyl floor, you can rip it off using a pry bar and if your bathroom had ceramic tiles, you can smash them using a hammer.
Before installing your marble tiles, you have to ensure that the floor surface is thoroughly cleaned; you can either vacuum it or use a dust mop to get the job done. After cleaning, you have to allow the floor to dry.
When the floor is dry, you have to level it using a floor leveler; remember those marble floors are very susceptible to cracks if they are not installed on a leveled surface. Apart from the floor leveler, you can sand down the bumps on the floor or use a ply wood to make the floor flat.
Inspecting the tiles
You have to inspect the tiles by running your fingers in the tiles to ensure that they do not have any cracks. Cracked tiles are not good because they easily break during the installation process.
You have to know the exact length and width of the floor which aids in creation of the required layout and then mark the center and the grid of your floor.
Laying down the tiles
The grid you created are significant because they give you an idea of how to place the tiles in their required patterns; place the tiles within the grid and then apply the required adhesive on the floor to keep the tiles intact.
Lay down the marble tiles over the thin sheet of adhesive and hold them gently and firmly and be careful not to slide them in appropriately. You can use the spacers to position the tiles if they are out of place. Allow the marble floors to dry up and then seal up the marble by dampening the spaces in between the marbles using cement.
 decorafit.com Design ideas for your home and patio
